
How I built a wireless parcel delivery notification system from scratch — using LoRa, ESP32, solar power, and a lot of trial and error.
The Problem
If you live rurally in New Zealand, you know the drill. Your letterbox is at the end of a long driveway — sometimes hundreds of metres from the house. A courier drops off a parcel, and you have no idea it’s there until you happen to walk down hours later. By then it’s been sitting in the rain, or worse, someone’s helped themselves to it.
I wanted to fix that. Not with a camera and WiFi (no chance of getting a signal that far), but with something low-power, long-range, and reliable enough to survive on a solar panel and a single battery for months at a time. The result is Parcel Guard — a LoRa-based smart parcel box that detects deliveries and notifies you wirelessly inside the house.
The Hardware
The system has two main units: a sender that lives inside the parcel box, and a receiver/display unit inside the house.
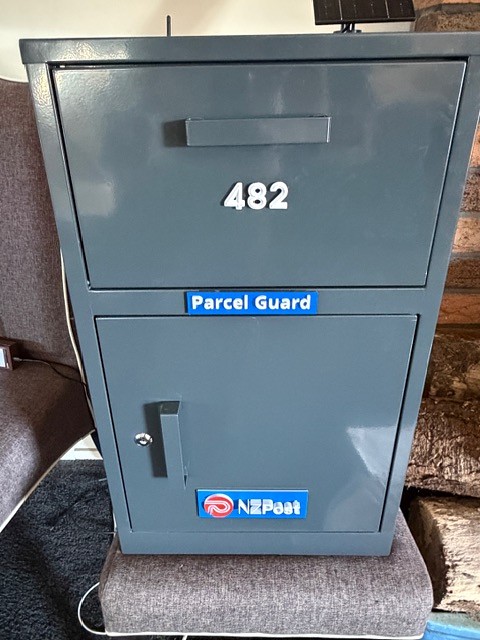
The parcel box can be wall mounted on your timber fence, steel fence or wall.
- SPCC with grey painting
- Pull down parcel area for courier that doesn’t allow access to parcel drop area below.
- Round lock with 2 keys – for the parcel drop area.
- 0.5mm thickness
- 390Wx370Dx650H mm
Courier Parcel Box Size Supported: 30x30x17CM (Plus Minus 2CM)
The Sender (Parcel Box)
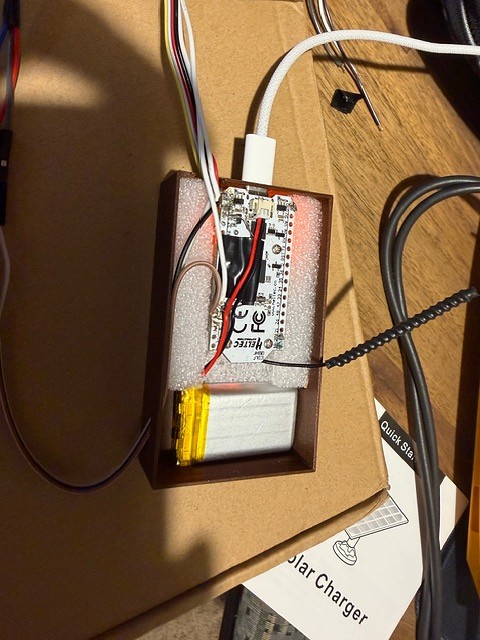
The sender is built around a Heltec LoRa32 V3 (ESP32-S3) board. It’s compact, has a built-in LoRa radio, and sips power in deep sleep mode – around 30 microamps. It monitors the parcel box door using a simple reed switch wired to a GPIO pin with a pull-up resistor. When the door opens, the ESP32 wakes from deep sleep, reads the sensors, and fires off an encrypted LoRa packet to the house.
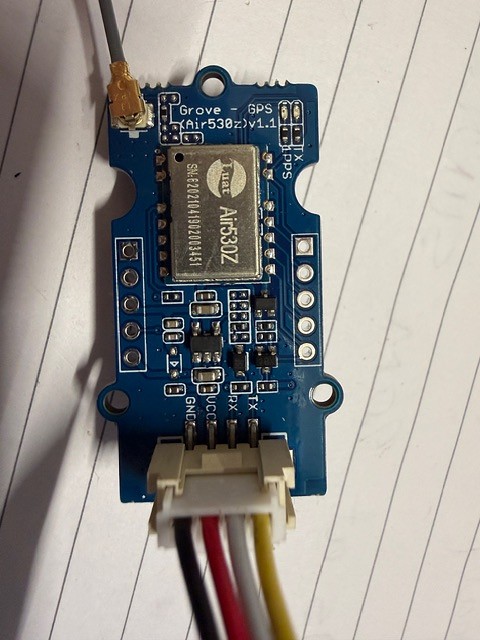
I also added a DHT22 sensor for temperature and humidity readings (useful for monitoring conditions inside the box), and a Grove Air530 GPS module for location data. The GPS coordinates get cached in RTC memory and only update hourly to save power. Temperature and humidity are read on every wake cycle.
You don’t in theory need the gps module – as the location doesn’t generally move once you know where it is as part of a setup routine – but this is just a prototype and I had one lying around – see an update on this later…
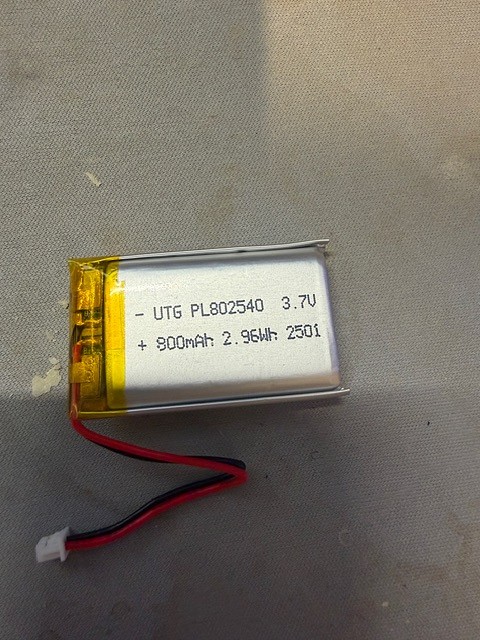
Power comes from a 800mAh single battery with a small solar panel for insurance. This was a key learning — I originally tried two 18650s lithium batteries in parallel, but the Heltec’s onboard charge IC is designed for single-cell only and it didn’t charge. The solar panel mostly just offsets self-discharge rather than being essential for operation.
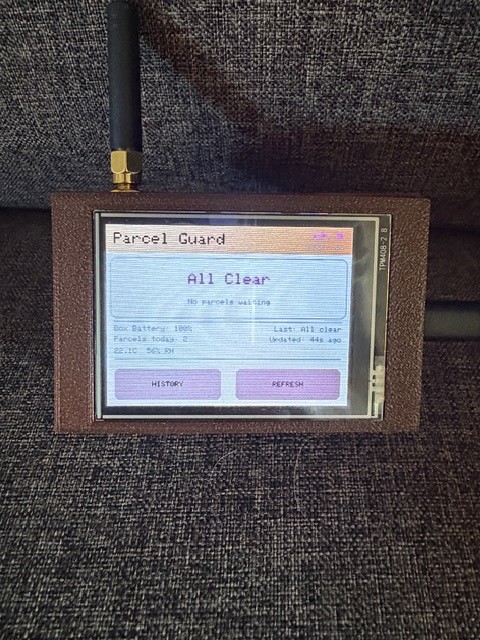
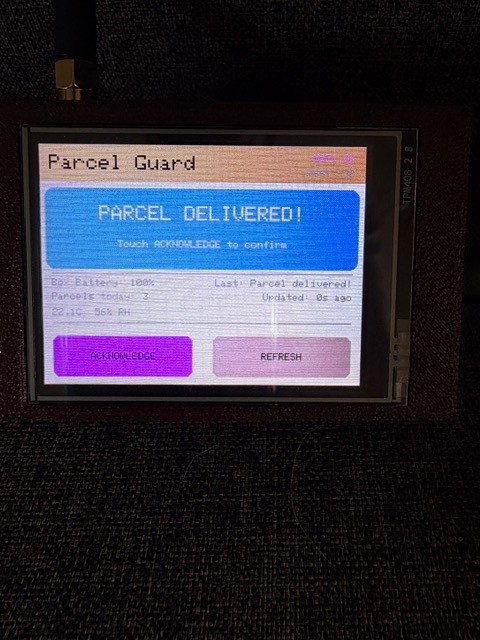
The Receiver (House Unit)
Inside the house, another Heltec LoRa32 V3 receives the encrypted LoRa packets and forwards the data over UART to a CYD (Cheap Yellow Display) — an ESP32 board with a built-in colour touchscreen. The CYD handles the user interface, showing delivery events, battery status, temperature, humidity, GPS coordinates, and solar charging state.
The CYD also connects to WiFi and publishes MQTT notifications via a HiveMQ broker, which opens the door to push notifications, integration with other services, and the companion mobile app I’m planning.
The Firmware Journey
Development has been iterative — features added one at a time, with plenty of debugging along the way. Some highlights and hard-won lessons:
AES-128 Encryption: All LoRa communications between sender and receiver are encrypted using AES-128-CBC via the ESP32’s built-in mbedtls library. A shared key is burned into both devices. This prevents anyone from spoofing delivery events or eavesdropping on the radio link.
Battery Calibration: Getting accurate battery percentage readings took some effort. The Heltec’s ADC readings don’t follow a standard Li-ion discharge curve perfectly, so I calibrated the voltage-to-percentage mapping against the actual UTG PL802540 800mAh LiPo battery I’m using. Full charge reads around 3.70V through the ADC, not the 4.2V you’d expect — the onboard voltage divider and ADC characteristics shift things.
The Great Pin Mismatch: Probably my most painful debugging session. After adding MQTT features to the house receiver firmware, the CYD display stopped working entirely. After hours of troubleshooting, I discovered the updated firmware had changed the UART pin assignments to GPIO 47/48, but my physical wiring was still connected to the original GPIO 43/44. Lesson learned: firmware GPIO assignments must always match physical wiring. It sounds obvious, but after multiple firmware iterations it’s easy to lose track.
GPS Battery Drain: The sender’s battery was draining in about a day instead of lasting months. The culprit? The Air530 GPS module was wired directly to 3.3V with no power switching — drawing 20–30mA continuously, even during deep sleep. At 800mAh capacity, that’s roughly 32 hours of runtime, which perfectly explained the one-day battery life. The fix was simple: disconnect the GPS. For a parcel box that doesn’t move, the GPS coordinates only really matter during initial installation anyway.
Why LoRa and Not WiFi?
This is the question everyone asks. WiFi would be simpler in many ways, but it simply doesn’t have the range for rural properties. LoRa comfortably covers 350+ metres through terrain that would kill a WiFi signal. The trade-off is bandwidth — LoRa packets are tiny (51–222 bytes), so there’s no sending images or video. But for a delivery notification with sensor data? It’s perfect.
I did explore adding a camera module at one point, but quickly realised that transmitting even a small image over LoRa would require hundreds of packets and consume an entire day’s duty cycle allowance. The camera idea was dropped in favour of keeping things simple and reliable. I could make a wifi version for urban locations one day, which might be an option then…
Note: This is using Lora not LoraWAN (which is available via Spark- it’s a Lora Gateway to the internet) – Because we’re going point to point (and wifi internet capability is provided by the house unit) and not likely to have much congestion at this point in time, then Lora makes sense for now.
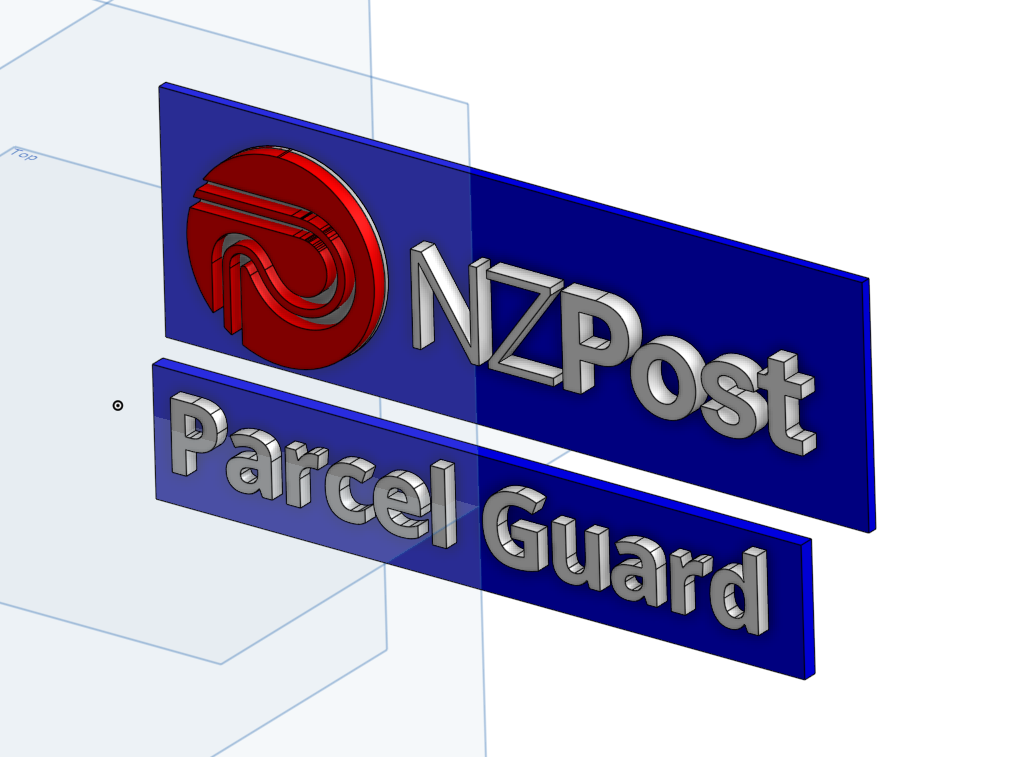
3D Printing
I designed and printed the 3D Cases for the sender and receiver – the NZ Post logo, the ParcelGuard logo and the house numbers using a 3D application called OnShape which was recommended in various forums – and the guy making 3D printed stuff I was chatting to at the local craft market – he seemed to know what he was talking about! – so I spent a day teaching myself how to use it.
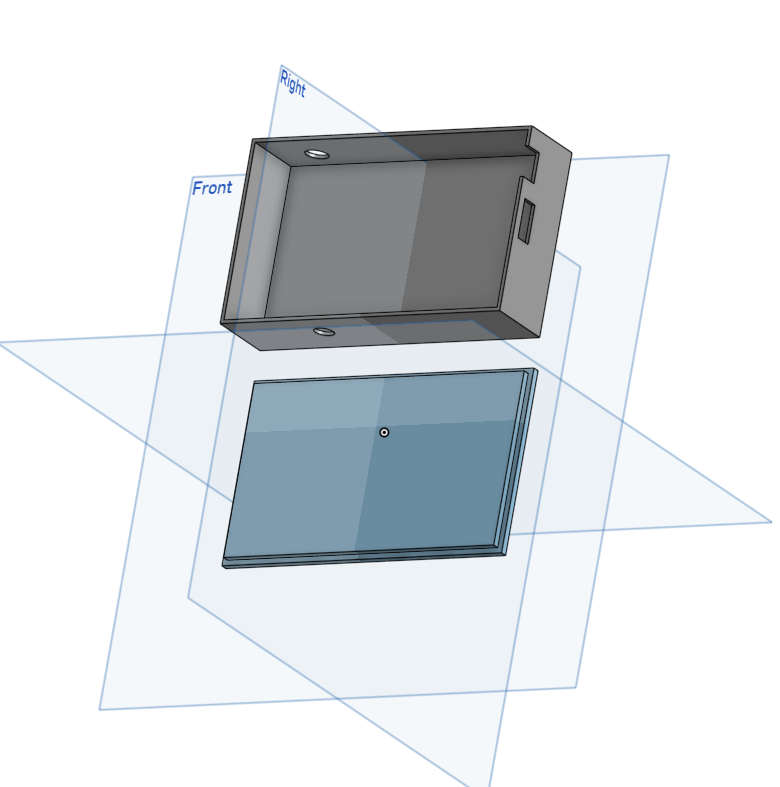


I used my Bambu Labs H2S printer to do the printing.
What’s Next
The prototype is working and the core system is solid. Here’s what’s on the roadmap:
Mobile App: A React Native app built with Expo for parcel tracking and device setup. It’ll handle WiFi provisioning via SoftAP, use the phone’s GPS for box location registration, and integrate with NZ Post’s tracking APIs to show parcel status alongside physical delivery detection.
Backend Infrastructure: A Python backend service connected to my existing self-hosted Portainer stack running PostgreSQL and EMQX MQTT broker. No cloud dependency — everything runs on infrastructure I control. I could explore cloud options if I need to scale, AWS and Azure both have paid options available.
Ops Dashboard: An internal fleet management tool with a map view of all deployed boxes, stats, and the ability to broadcast messages to specific units or the entire fleet.
Weight Sensing: HX711 load cells to detect the weight of delivered parcels — useful for confirming deliveries.
Tamper alerts: I could use a SW-420 Vibration sensor switch.
App-Controlled Unlock: The ability to remotely unlock the parcel box from the mobile app, so you can grant access to couriers or neighbours. I could combine this with an NFC reader for a tag to unlock…
A better screen: I found a much better (but more expensive) touchscreen, so I’d like to use that for v2.
Key Takeaways
Building hardware is humbling. Every assumption gets tested by reality — batteries that don’t charge, pins that don’t match, GPS modules that silently drain your power budget. But that’s what makes it satisfying when it all comes together. A few principles that have served me well on this project:
Always measure actual power consumption, don’t trust datasheets alone. Keep firmware GPIO assignments documented and verify them against physical wiring after every update. Start with the simplest thing that works and add complexity incrementally. And when something breaks, isolate variables systematically before jumping to conclusions.
If you’re in rural New Zealand and this resonates with you, stay tuned — there’s more to come. And if you have thoughts, suggestions, or want to be an early tester, I’d love to hear from you.
I’m actually going to start work on the next iteration of ParcelGuard – but this is prototype number 1. Well – number 2 to be perfectly honest, but the first iteration was a few years ago when I did the postgrad certificate in IOT and it was using sigfox but that’s a story for another day. Stay tuned for version 2